Hugo를 사용해서 Github가 호스팅하는 블로그 만들기
일단 시작하기 전에
- Windows 환경을 가정합니다.
- Github 계정이 있어야 한다.
- Git이 설치되어 있어야 한다.
- Hugo를 설치해야 한다.
Hugo를 설치하는 방법은 다음과 같다.
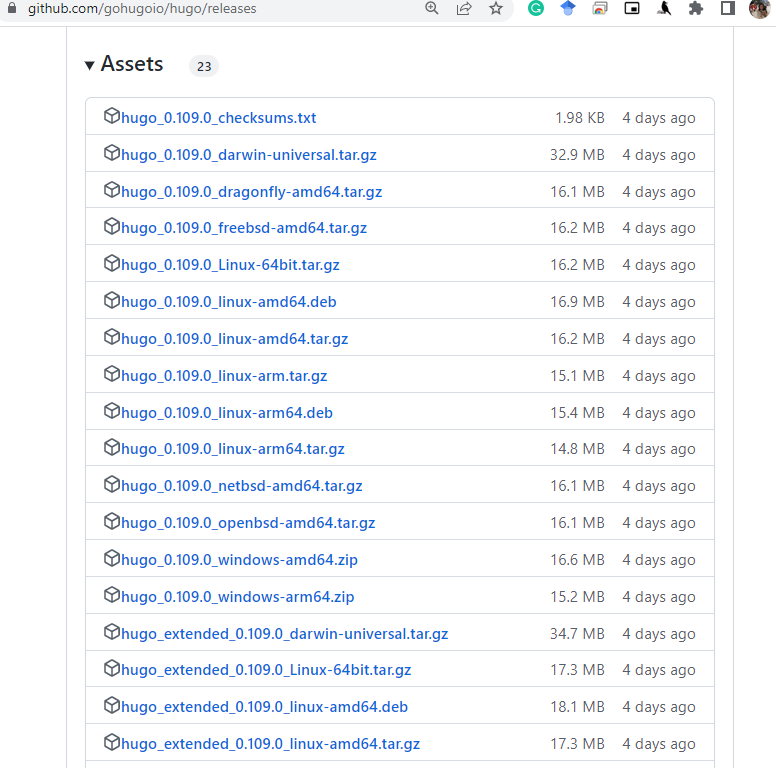
- https://github.com/gohugoio/hugo/releases 에 접속하여 아래 스크린샷에 보이는 Assets을 찾는다.
- 자신의 컴퓨터와 맞는 (다운로드 받을 theme이 지원하는) 파일(ex. ugo_extended_0.109.0_windows-amd64.zip)을 다운로드 받고 압축을 푼다.
Hugo.exe파일이 있는 위치를 환경변수 path에 저장한다.

이제 예제 블로그를 복사해 보자!!
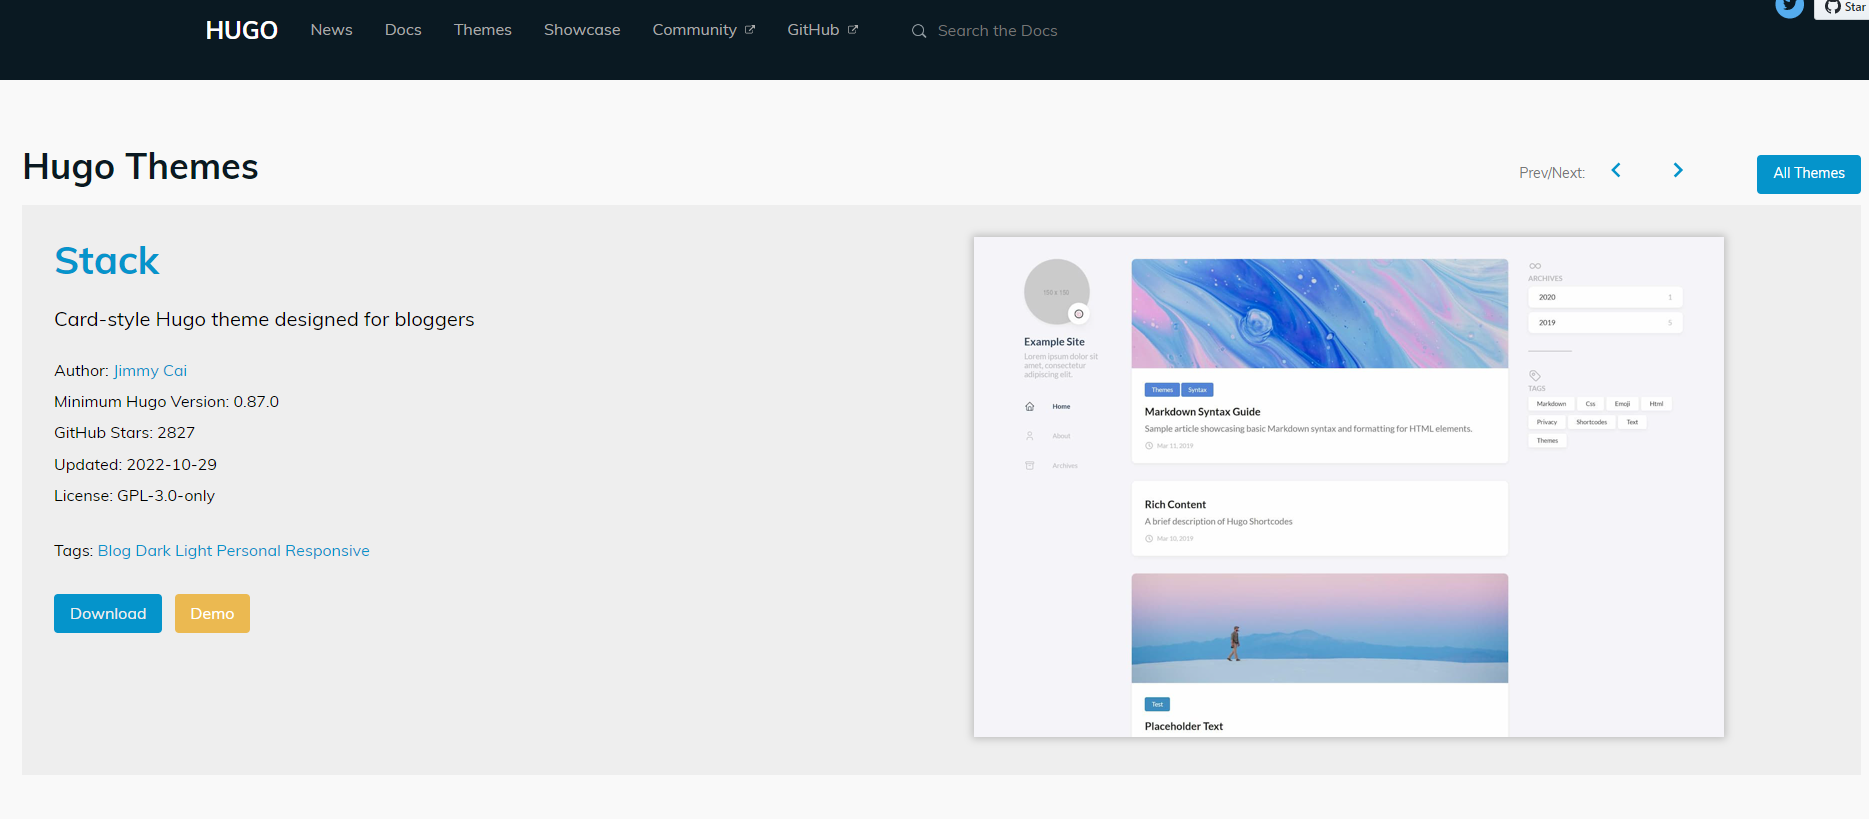
일단 https://themes.gohugo.io/ 에서 내가 마음에 드는 Hugo theme을 찾는다.

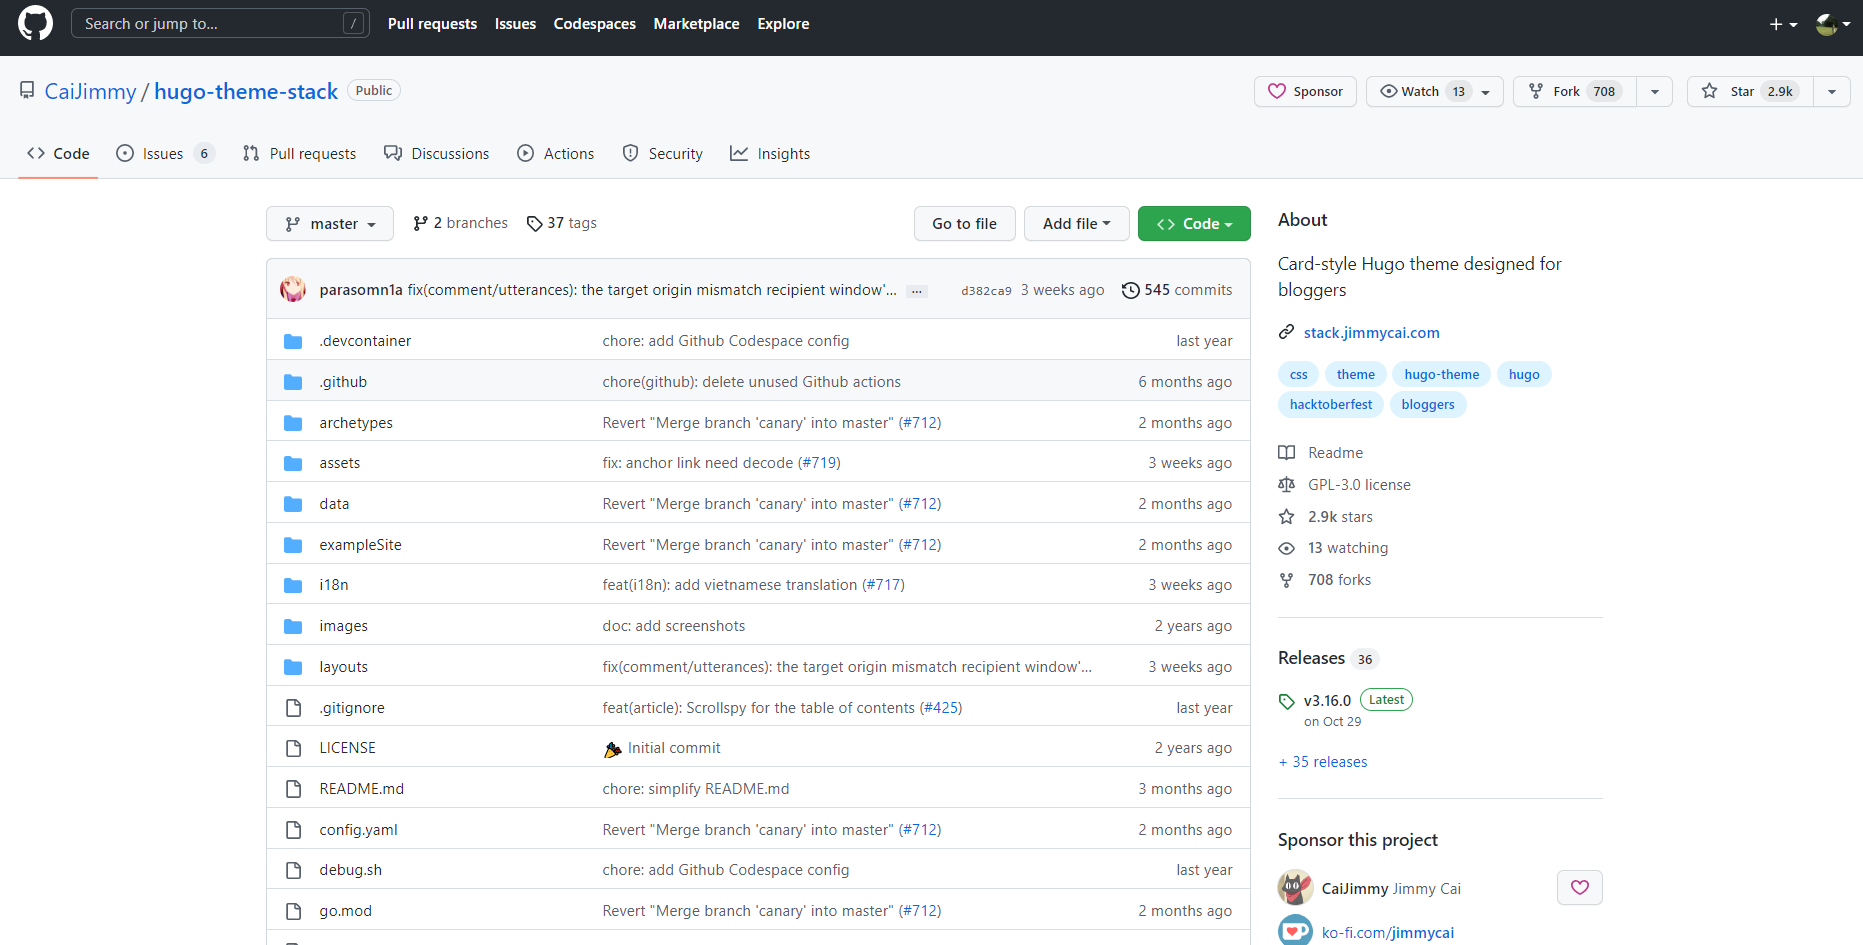
마음에 드는 theme page에서 Download 버튼을 누르면 theme이 저장되어 있는 Github로 넘어간다. (ex. https://github.com/CaiJimmy/hugo-theme-stack)
Github repository를 내 Github 계정으로 fork한다. (theme의 버전관리를 위해서 이렇게 하는게 안전한 듯) fork는 아래 그림의 오른쪽 위에 있는 fork 버튼을 누른다.

이 repository를 내 local PC에 다운로드 받고 exampleSite 폴더를 제외하고 최상위 폴더를 포함한 나머지는 다 삭제한다.
다 삭제하고 나서는 exampleSite 폴더의 폴더 이름을 원하는 대로 변경한다.
나는 myBlog 로 지정했다.
exampleSite 안에 있는 config file에서 baseurl을 https://OOOOOO.github.io/로 변경해 준다. 여기서 OOOOOO는 본인의 Github 계정명이다.
블로그 Source 코드를 Github에 upload 하자
Github에 (private) repository를 생성한다. (ex. myBlog) 이 repostiroty를 Local PC의 myBlog 폴더랑 연결한다.
- Command Prompt를 연다.
- myBlog 폴더가 있는 위치로 이동한다. (ex. cd D:\myBlog )
- 아래의 명령어를 입력하여 Local PC의 myBlog 폴더와 Github의 myBlog repository를 연결한다.
1D:\myBlog> git init
2D:\myBlog> git add --all
3D:\myBlog> git commit -m "first commit"
4D:\myBlog> git branch -M main
5D:\myBlog> git remote add origin https://github.com/OOOOO/myBlog.git
6D:\myBlog> git push -u origin main
OOOOOO 대신에 자신의 Github 계정명을 입력하고, myBlog 대신에 방금 private 으로 생성한 repository 이름을 입력하면된다.
이제 theme을 예제 블로그랑 연결해 보자
- 계속해서 Command Prompt에서 myBlog 폴더가 있는 위치이다.
- 아래의 명령어를 입력하여 fork한 theme을 myBlog의 submodule로 지정해준다.
1D:\myBlog> git submodule add https://github.com/OOOOOO/hugo-theme-stack themes/hugo-theme-stack
https://github.com/OOOOOO/hugo-theme-stack은 내 계정에 fork한 theme의 link이고 themes/hugo-theme-stack는 local에 있는 myBlog 폴더 내부에 theme을 저장하는 곳이다.
Build하자
- Github에서
OOOOOO.github.io의 새 (public) repository를 생성한다. 여기서 다시,OOOOOO는 본인의 Github 계정명이다. - Local PC의 Command Prompt, myBlog 폴더 위치에서 아래의 명령어를 입력하면 Local PC에 public 폴더가 생성되고 그 안에 build된 파일들이 생성된다.
1D:\myBlog> hugo --theme=hugo-theme-stack
여기서 다시, hugo-theme-stack는 내 계정에 fork한 theme의 이름이다.
- public 폴더 안에서
git init을 해준다.
1D:\myBlog> cd public
2D:\myBlog\public> git init
3D:\myBlog\public> cd ..
- 이제 Local PC의 public 폴더와
OOOOOO.github.io를 연결해 준다.
1D:\myBlog> git submodule add https://github.com/OOOOOO/OOOOOO.github.io public/
2D:\myBlog> git submodule update --init --recursive
Local server에서 돌려보자.
- Command Prompt에 아래의 명령어를 입력한다.
1D:\myBlog>hugo server
을 입력해도 되고, 또는
1D:\myBlog>hugo server --theme=hugo-theme-stack
을 입력하여 build와 동시에 server를 돌릴수도 있다.
Prompt에 http://localhost:####/ 이런 주소가 뜨는데 이 링크를 클릭하면 local server에서 돌아가는 웹 사이트를 확인할 수 있다.
Web에서 돌려보자.
- myBolg 폴더랑 public 폴더를 다 git add, git commit, git push 하여서 Github repository를 업데이트 한다.
- 이상이 없으면 host하는 blog가 만들어 진다.
- 따로 주소를 변경하지 않으면
https://OOOOOO.github.io에 접속하면 example blog를 web에서 볼 수 있다. 물론 여기서OOOOOO는 본인의 계정명이다.